Cap[1].jpg)
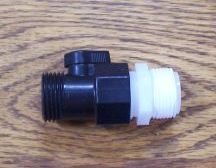
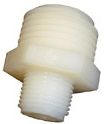
The barrels come with a downspout connector, a piece of screen, one brass spigot,
three top overflow hose connections, three caps, and a plug..
All parts are shipped in a separate box.
White Oak Rain Barrel Installation Instructions
The barrels come with a downspout connector, a piece of screen, one brass
spigot,
three top overflow hose connections, three caps, and a plug..
All parts are shipped in a separate box.

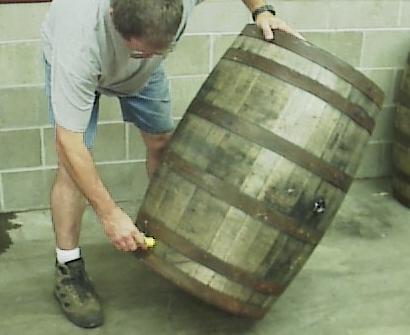
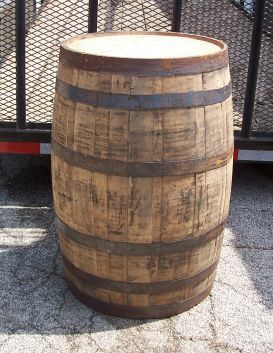
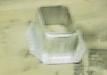
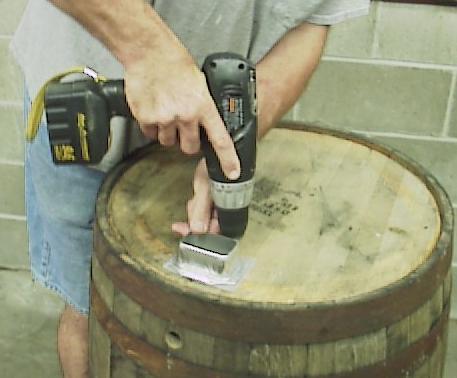
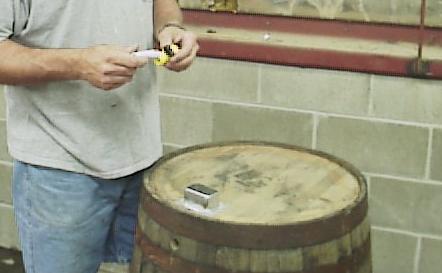
The first step is to lay the piece of screen over the rectangular hole cut in the top of the barrel. Set the downspout connector over the hole and screen, and attach the connector with the screws provided. The excess screen can be cut with a sharp pocket knife after the connector is installed. Insert the fine threads of the three nylon overflow fittings it into the top PVC fittings in the barrel (FINGER TIGHT ONLY). The brass spigot can be installed (FINGER TIGHT ONLY) into the fitting installed in the middle of the barrel or you can install it in the fitting directly below, by removing the nylon plug and re-inserting it into the middle hole. CAUTION: Make sure the spigot is installed straight into the fitting or you will crossthread the fitting and it will have to be replaced. To prolong the useful life of your white oak rain barrel, it is recommended that you set the barrel up on bricks or blocks or an iron stand to allow air to circulate under the barrel
The Oak barrels may leak when first filled but will seal up after being filled with water for four or five hours.
Be sure to drain your Rain barrel
during cold weather to prevent freezing!
Water collected in these barrels is NOT FOR DRINKING PURPOSES
If you have questions or problems call us toll free @ 1-877-888-5609